Welcome to the Honeywell Pro 3000 Installation Manual‚ your comprehensive guide for installing the TH3110D and TH3210D models. This manual ensures a smooth setup process‚ covering essential steps for both 1 Heat/1 Cool and 2 Heat/1 Cool configurations. Designed for professionals and DIYers‚ it provides detailed instructions for wallplate mounting‚ wiring connections‚ and system setup. Follow this manual to unlock the full potential of your Honeywell Pro 3000 thermostat‚ featuring a backlit display and push-button climate control for enhanced comfort and efficiency;

Overview of the Honeywell Pro 3000 Series

The Honeywell Pro 3000 Series includes models TH3110D and TH3210D‚ designed for 1 Heat/1 Cool and 2 Heat/1 Cool systems‚ respectively. These thermostats offer a non-programmable‚ digital interface with a backlit display and push-button controls for easy operation. The series is known for its compatibility with various HVAC systems‚ including heat pumps‚ ensuring flexible installation options. The wallplate installation process is straightforward‚ involving wire routing‚ leveling‚ and marking hole positions. With features like battery replacement alerts and professional-grade performance‚ the Pro 3000 Series is a reliable choice for residential and light commercial applications‚ providing precise temperature control and energy efficiency. Its scalable design supports system upgrades‚ making it a versatile solution for diverse heating and cooling needs.
Importance of Following the Installation Manual
Adhering to the Honeywell Pro 3000 Installation Manual is crucial for ensuring a safe‚ proper‚ and efficient setup of your thermostat; The manual provides detailed‚ model-specific instructions for TH3110D and TH3210D‚ covering wiring‚ wallplate mounting‚ and system configuration. Incorrect installation can lead to safety hazards‚ equipment damage‚ or suboptimal performance. By following the manual‚ you ensure compatibility with 1 Heat/1 Cool and 2 Heat/1 Cool systems‚ while also maintaining warranty validity; Proper installation guarantees precise temperature control‚ energy efficiency‚ and extends the lifespan of your HVAC system. Always refer to the manual for troubleshooting and maintenance tips to uphold peak performance and reliability of your Honeywell Pro 3000 thermostat.

System Compatibility and Requirements
The Honeywell Pro 3000 is designed for systems with 1 Heat/1 Cool and 2 Heat/1 Cool configurations‚ ensuring compatibility with standard HVAC setups and requirements.
Supported Models: TH3110D and TH3210D
The Honeywell Pro 3000 series supports two primary models: the TH3110D and TH3210D. The TH3110D is ideal for 1 Heat/1 Cool systems‚ offering straightforward installation and operation. The TH3210D‚ designed for 2 Heat/1 Cool heat pump systems‚ provides advanced functionality for dual-stage heating and cooling. Both models are compatible with standard HVAC systems and offer features like backlit displays and push-button controls. Ensure your system matches the model specifications for optimal performance. Proper installation of either model ensures efficient temperature control and energy savings‚ making the Honeywell Pro 3000 series a reliable choice for various home comfort needs.
System Types: 1 Heat/1 Cool and 2 Heat/1 Cool Configurations
The Honeywell Pro 3000 series accommodates two system types: 1 Heat/1 Cool and 2 Heat/1 Cool configurations. The 1 Heat/1 Cool system is ideal for standard HVAC setups with a single heating and cooling stage. The 2 Heat/1 Cool configuration is designed for systems requiring dual heating stages‚ such as heat pumps or dual-fuel systems. Both configurations ensure efficient temperature control and energy savings. Proper installation based on your system type is crucial for optimal performance. The manual provides specific guidelines for each configuration‚ ensuring compatibility and ease of use. By adhering to these specifications‚ you can maximize the Honeywell Pro 3000’s functionality and enjoy reliable home comfort.
Pre-Installation Steps
Gather necessary tools and materials before starting; Understand the wallplate installation process‚ including pulling wires through the hole‚ positioning‚ leveling‚ and marking hole locations for accurate mounting.
Gathering Necessary Tools and Materials
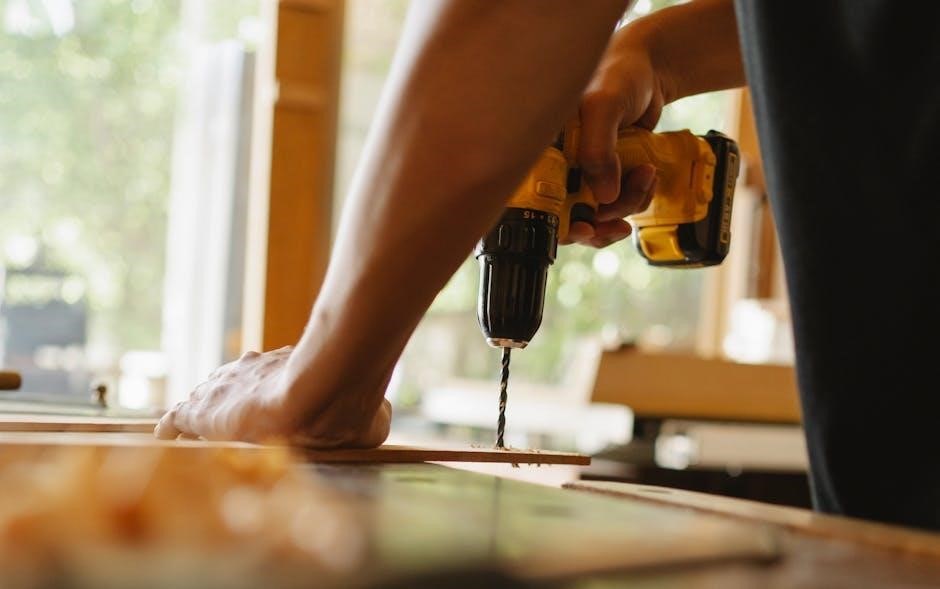
To ensure a smooth installation‚ gather all required tools and materials beforehand. You will need a pencil‚ drill‚ level‚ screwdrivers (Phillips and flathead)‚ pliers‚ wire strippers‚ and a voltage tester. For the wallplate‚ prepare the wires and mounting screws provided. Additionally‚ download and review the Honeywell Pro 3000 installation manual for specific instructions and diagrams. Organize these items in a workspace to avoid delays; Ensure the power to your HVAC system is turned off before starting any work. Having everything ready will help you follow the manual’s steps efficiently and safely.
Understanding the Wallplate Installation Process
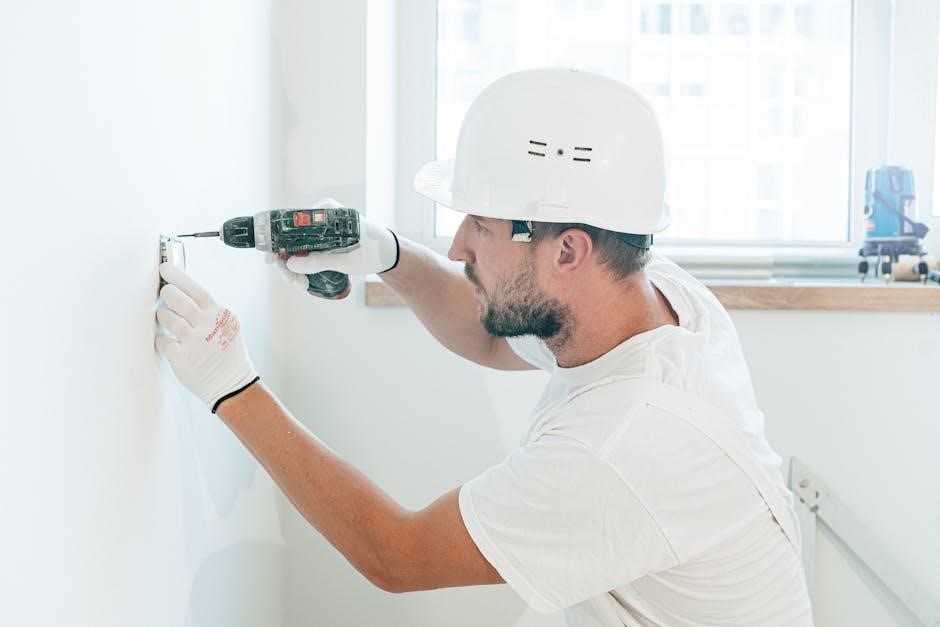
Installing the wallplate is the first step in setting up your Honeywell Pro 3000 thermostat. Begin by removing the wallplate from the thermostat and pulling the wires through the wire hole. Position the wallplate on the wall‚ ensuring it is level‚ and mark the hole positions with a pencil. Drill the holes‚ secure the wallplate with screws‚ and ensure it is firmly attached. Proper alignment is crucial for accurate thermostat operation. Follow the manual’s diagrams for correct placement‚ especially for models TH3110D and TH3210D. This step ensures a solid foundation for the rest of the installation process‚ allowing for precise temperature control and system functionality.
Installation Process
The Honeywell Pro 3000 installation involves mounting the wallplate‚ connecting wires‚ and configuring the thermostat. Ensure all steps are followed carefully for optimal performance and functionality.
Mounting the Wallplate
Mounting the wallplate is the first step in the installation process. Begin by pulling the wires through the wire hole in the wallplate. Next‚ position the wallplate on the wall‚ ensuring it is level‚ and mark the hole positions with a pencil. Drill holes at the marked locations and secure the wallplate using the provided screws. Make sure the wallplate is firmly attached to the wall to ensure proper functionality. Once mounted‚ proceed to connect the wires according to the wiring diagram provided in the manual. Proper alignment and leveling are crucial for accurate thermostat operation and a professional finish.
Wiring Connections and Setup
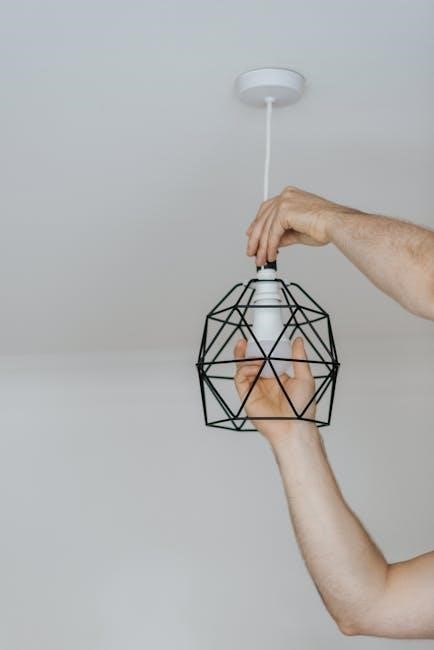
After mounting the wallplate‚ proceed with wiring connections. Ensure the power to the HVAC system is turned off before starting. Connect the wires from the wallplate to the thermostat terminals‚ following the wiring diagram in the manual. Typically‚ wires R (24V)‚ W (heat)‚ Y (cool)‚ G (fan)‚ C (common)‚ and any additional wires for advanced features are connected. Secure each wire tightly to the corresponding terminal blocks on the thermostat. Avoid any loose connections to prevent malfunctions. Once all wires are connected‚ restore power to the system and test the thermostat by switching between heat and cool modes to ensure proper operation. Proper wiring ensures reliable performance and safety.
Features and Benefits of the Honeywell Pro 3000
The Honeywell Pro 3000 offers a backlit display for easy reading‚ push-button climate control for simple operation‚ and professional installation options. It supports both 1 Heat/1 Cool and 2 Heat/1 Cool systems‚ ensuring compatibility with various HVAC setups. The thermostat’s scalable design allows for seamless integration with existing systems‚ providing reliable performance and enhanced comfort. Its intuitive interface and durable construction make it a practical choice for homeowners seeking precise temperature control and energy efficiency.
Backlit Display and Push-Button Climate Control
The Honeywell Pro 3000 features a bright‚ backlit display that ensures clear visibility in both bright and low-light conditions. This feature is particularly useful for nighttime adjustments or in areas with limited lighting. The push-button climate control provides an intuitive interface‚ allowing users to easily adjust temperature settings‚ switch between heating and cooling modes‚ and access additional menu options. The buttons are responsive and ergonomically designed for a seamless user experience; Together‚ the backlit display and push-button controls make the Honeywell Pro 3000 thermostat both functional and user-friendly‚ enhancing overall comfort and convenience for homeowners.
Professional Installation and Scalability
The Honeywell Pro 3000 is designed for professional installation‚ ensuring optimal performance and compatibility with various HVAC systems. Its scalability makes it suitable for both residential and light commercial applications‚ supporting up to 62 doors via RS485 multi-drop communication. This feature allows for efficient system expansion and integration with additional controllers. The thermostat’s professional-grade design ensures reliable operation‚ while its modular architecture simplifies future upgrades. With clear installation guidelines and robust connectivity options‚ the Honeywell Pro 3000 offers a flexible and scalable solution for diverse heating and cooling needs‚ making it a preferred choice for professionals seeking long-term system reliability and adaptability.

Troubleshooting and Maintenance
Troubleshooting the Honeywell Pro 3000 involves identifying common issues like battery replacement and system connectivity. Regular maintenance includes cleaning the thermostat and checking wiring connections for optimal performance.
Common Issues and Solutions
Common issues with the Honeywell Pro 3000 include battery depletion warnings and connectivity problems. Replace batteries promptly when the REPLACE BATT alert appears. For connectivity issues‚ ensure all wires are securely connected and check for any loose connections. If the display is unresponsive‚ restart the thermostat by removing and reinserting the batteries. Additionally‚ verify that the system type (1 Heat/1 Cool or 2 Heat/1 Cool) matches your setup. Regular cleaning of the thermostat and checking for firmware updates can prevent operational hiccups. Refer to the troubleshooting section for detailed solutions to ensure optimal performance and maintain your comfort settings effectively.
Post-Installation Checks and Maintenance Tips
After installation‚ ensure the Honeywell Pro 3000 operates smoothly by performing a series of checks. Verify that the thermostat is properly mounted‚ wires are securely connected‚ and the system cycles correctly. Check for any error messages on the display and address them promptly. Regularly clean the thermostat to prevent dust buildup and ensure accurate temperature readings. Replace batteries when the REPLACE BATT warning appears‚ typically every 12-24 months. For maintenance‚ update the firmware if available and inspect wires for damage or corrosion. Schedule annual professional checks for optimal performance. These steps ensure reliable operation‚ maintain efficiency‚ and extend the lifespan of your Honeywell Pro 3000 thermostat.
Additional Resources
Download the Honeywell Pro 3000 Series manual from official Honeywell websites or authorized distributors. Contact Honeywell Support for troubleshooting‚ updates‚ or professional assistance with your thermostat.
Downloading the Honeywell Pro 3000 Series Manual
The Honeywell Pro 3000 Series Installation Manual is available for download as a PDF from official Honeywell websites or authorized distributors. Ensure you access the manual from trusted sources to avoid unauthorized versions. The manual covers models TH3110D and TH3210D‚ providing detailed installation instructions for 1 Heat/1 Cool and 2 Heat/1 Cool systems. It includes wallplate installation steps‚ wiring diagrams‚ and troubleshooting tips. Downloading the manual is free and recommended for a smooth installation process. Visit Honeywell’s official support page or authorized portals to find and download the correct manual for your thermostat model.
Honeywell Support and Customer Service Information
Honeywell offers comprehensive support for the Pro 3000 Series through various channels. Visit their official website to access FAQs‚ troubleshooting guides‚ and contact information. For direct assistance‚ call Honeywell’s customer service hotline or submit a query online. Additionally‚ authorized distributors and installers can provide professional help. The support team is available to address installation challenges‚ system compatibility issues‚ and maintenance queries. Utilize these resources to ensure optimal performance of your Honeywell Pro 3000 thermostat. For detailed support options‚ refer to the installation manual or visit the Honeywell Home website.
No Responses