Colorbond roof sheet installation is a durable and weather-resistant solution, popular in Australia. It offers a sleek appearance and long-lasting performance when installed correctly using proper techniques and materials.
Overview of Colorbond Roofing Benefits
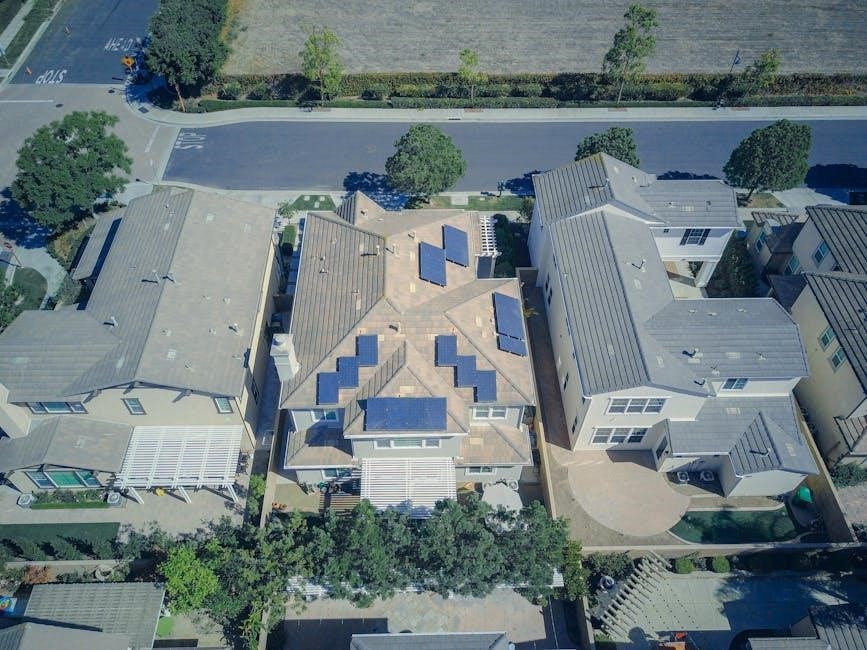
Colorbond roofing is a highly durable and versatile option, offering exceptional resistance to weather conditions, including heavy rain, hail, and extreme temperatures. Its pre-painted steel surface provides a sleek, modern appearance while maintaining long-lasting performance. One of its key benefits is its fire resistance, making it a safer choice for bushfire-prone areas. Additionally, Colorbond roofing requires minimal maintenance, as it resists corrosion and fading over time. The wide range of color options allows homeowners to match their roof with their property’s aesthetic. Its lightweight design makes it easier to install compared to traditional roofing materials. Furthermore, Colorbond roofing is environmentally friendly, as it can be recycled at the end of its life cycle. These advantages make it a popular choice for both residential and commercial properties in Australia.

Importance of Proper Installation Techniques
Proper installation techniques are crucial for ensuring the longevity and performance of Colorbond roof sheets. Incorrect installation can lead to issues such as leaks, corrosion, and premature wear, compromising the roof’s structural integrity. Adhering to manufacturer guidelines and Australian standards, such as AS 1562.1:1992, ensures that the roofing system is installed safely and effectively. Proper alignment, secure fastening, and adequate overlapping of sheets are essential to withstand harsh weather conditions. Additionally, using compatible materials and avoiding contact with timber or incompatible metals helps prevent corrosion. Correct installation also ensures the roof’s fire resistance and aesthetic appeal are maintained. By following best practices, homeowners can enjoy a durable, weather-tight, and low-maintenance roofing solution for years to come.
Pre-Installation Preparation
Pre-installation preparation involves measuring the roof, calculating materials, and ensuring support spacing meets AS 1562.1:1992 standards. Tools and equipment must be ready, and materials should be pre-cut to avoid damage during installation.
Measuring the Roof and Calculating Materials
Accurate measurement of the roof is crucial to ensure the correct amount of materials are ordered. Measure the roof’s length, width, and pitch to calculate the total area. Consider any overhangs or extensions. Use a tape measure and calculator to determine the number of Colorbond sheets required. Always add 10% to account for cuts and overlaps. Check the roof’s condition for any irregularities that may affect material placement. Ensure support spacing complies with AS 1562.1:1992 standards for structural integrity. Proper material calculation prevents shortages and ensures a seamless installation process. Measure twice to confirm accuracy before ordering materials.
Use tools like a chalk line to mark sheet placements on the ground before lifting them onto the roof. This step prevents errors and saves time during installation.
Tools and Equipment Required for Installation
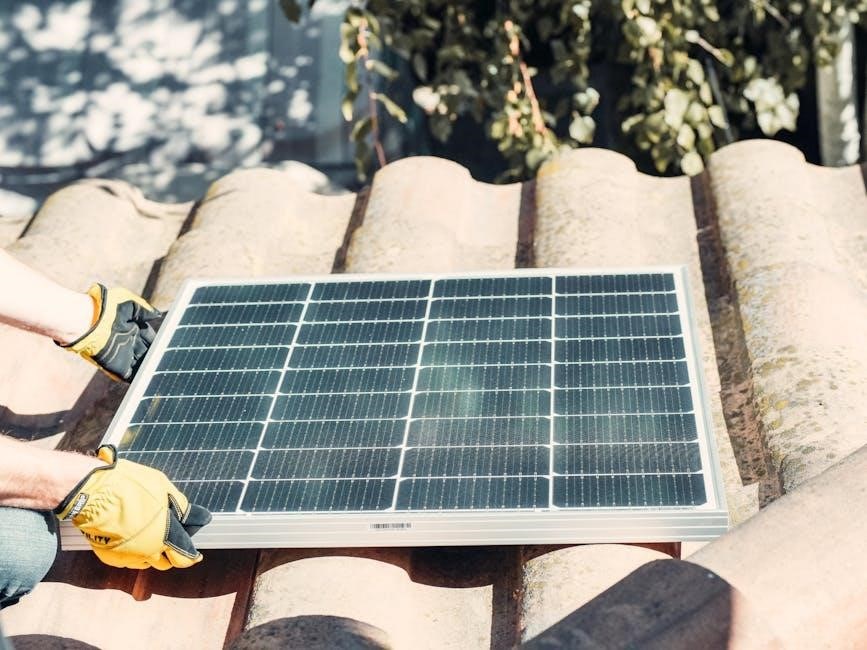
Installing Colorbond roof sheets requires specific tools to ensure a professional and secure fit. Essential tools include a drill, screwdriver, hex head screws, and a utility knife for cutting sheets. Measuring tools like a tape measure and chalk line are crucial for accurate alignment. Safety equipment such as gloves, safety glasses, and a harness are mandatory to protect against injuries. A ladder or scaffolding is needed for roof access, while a spirit level ensures proper alignment. Additionally, a pencil and marker are used for marking sheet placements. Proper tools prevent damage to the sheets and ensure a secure, weather-tight installation. Always use compatible fasteners to avoid corrosion and maintain the integrity of the Colorbond material.

Step-by-Step Installation Process
Colorbond roof installation follows a structured approach, starting with gutter and batten setup, followed by sarking, sheet alignment, and secure fastening to ensure a weather-tight and durable finish.
Step 1: Install Gutters, Fascias, and Battens
Installing gutters, fascias, and battens is the foundational step in Colorbond roof sheet installation. Gutters are secured along the roof edges to direct water flow, while fascias cover the roof’s edge for a clean finish. Battens are then fixed perpendicular to the rafters, ensuring a sturdy base for the roofing sheets. Proper alignment and leveling are critical to prevent water accumulation and structural issues. Fascias should be installed first, followed by gutters, ensuring they are securely fastened to withstand weather conditions. Battens are spaced according to the manufacturer’s guidelines, typically between 800mm to 1200mm, depending on the roof design. Once these components are in place, the roof is ready for the next steps in the installation process.
Step 2: Lay the Roof Sarking or Blanket
Laying the roof sarking or blanket is a critical step for weatherproofing and thermal regulation. This layer acts as a barrier against wind, rain, and heat, ensuring a dry and insulated roofing system. Begin by unrolling the sarking material across the battens, starting from the bottom edge of the roof. Ensure it is evenly spread and aligned with the roof’s edges. Secure the sarking with staples or nails, spacing them evenly to avoid wrinkles or sags. Overlap adjacent sheets by at least 150mm to ensure a watertight seal. Special attention should be given to valleys and joins, where additional sealing may be required. Once the sarking is fully installed, the roof is prepared for the placement of Colorbond sheets. Proper installation ensures long-term durability and protection against the elements.
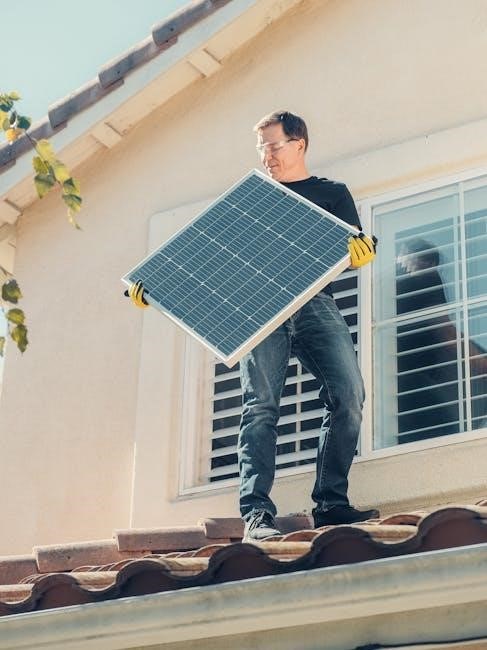
Step 3: Positioning and Aligning Colorbond Sheets
Positioning and aligning Colorbond sheets is a precise process to ensure a seamless and durable roof. Begin by placing the first sheet at the highest point of the roof, aligning it with the battens and ensuring it overhangs evenly on all sides. Use a chalk line to mark the position of subsequent sheets, maintaining the recommended side lap of one and a half corrugations. Sheets should be installed from the top down, working in the direction opposite to the prevailing wind to prevent water ingress. Ensure the overlapping edges face the direction of installation and are properly aligned to avoid misfits. Proper alignment prevents water leakage and structural issues, while also enhancing the roof’s aesthetic appeal. Once aligned, sheets are ready to be secured with fasteners in the next step.
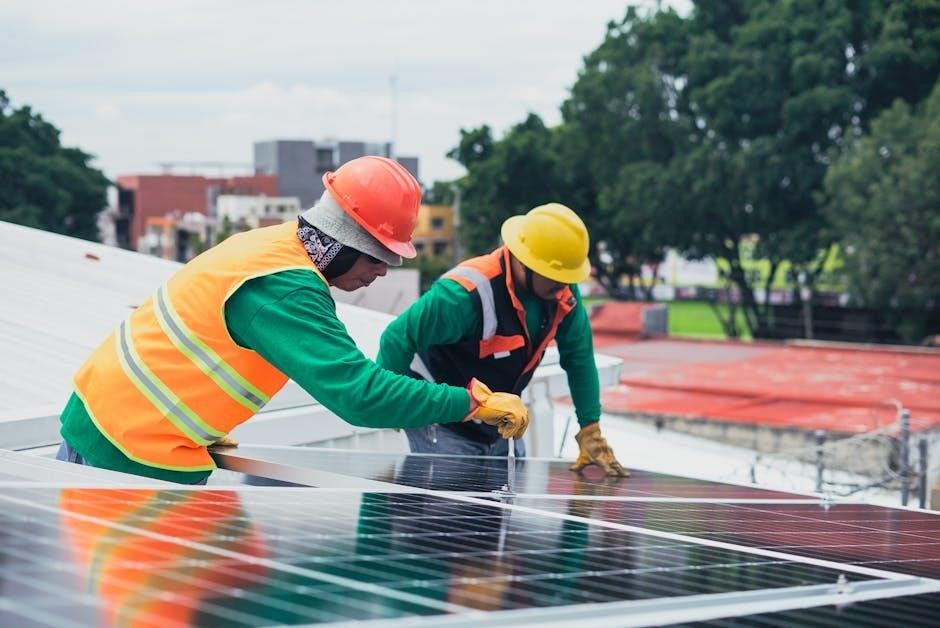
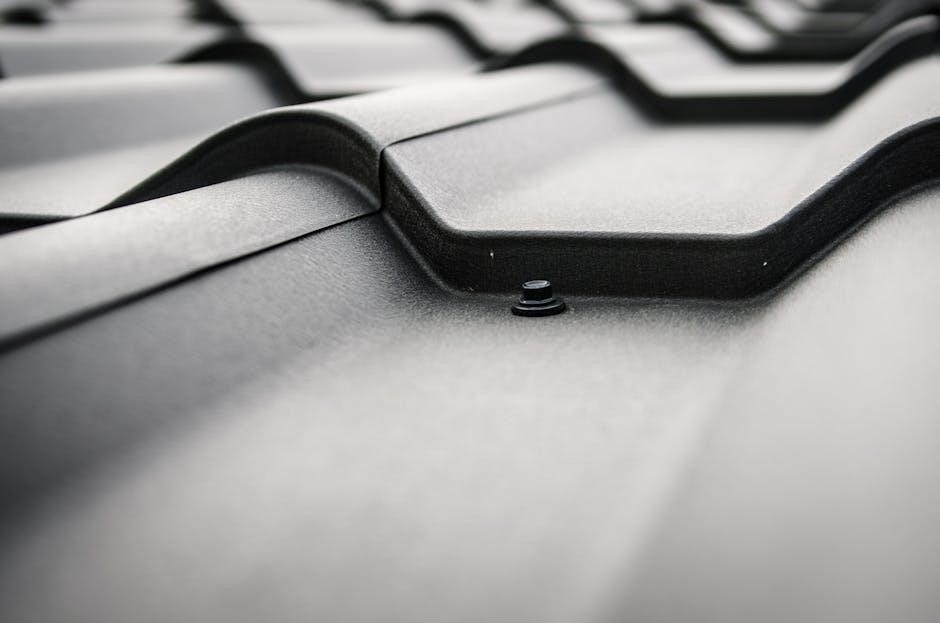
Step 4: Securing the Sheets with Fasteners

Securing Colorbond sheets with fasteners is the final step to ensure a watertight and durable roof. Use hex head screws specifically designed for metal roofing, as they provide a strong hold and weather-tight seal. Fasteners should be driven through the crest of the corrugations, spaced evenly at intervals of approximately 300-400mm, depending on the roof’s design. Start from the center of the sheet and work outward to prevent buckling. Ensure screws are snug but not over-tightened, as this can damage the sheet or strip the threads. Pre-drilling holes can help avoid distortion. Always use compatible materials to prevent corrosion and ensure longevity. Properly securing the sheets guarantees structural integrity and prevents water ingress. Double-check all fasteners for alignment and tightness before moving on to the next sheet.
Key Tips for a Successful Installation
Ensure materials are compatible to prevent corrosion, maintain proper overlaps for waterproofing, and align sheets correctly to avoid structural issues and ensure a durable, weather-tight finish.
Avoiding Corrosion and Incompatible Materials
To ensure the longevity of your Colorbond roof, it’s crucial to avoid materials that can cause corrosion. Avoid direct contact with untreated timber and incompatible metals, as these can lead to premature degradation. Always use fasteners specifically designed for cladding, such as hex head screws, to prevent reactions that may compromise the roof’s integrity. Additionally, avoid placing ZINCALUME steel in contact with Colorbond pre-painted steel, as this can accelerate corrosion. Properly clean the roof regularly to remove dirt and debris that may trap moisture and promote rust. By selecting compatible materials and following guidelines, you can safeguard your roof from corrosion and ensure a durable, weather-resistant finish.
Ensuring Proper Overlaps and Alignment
Proper overlaps and alignment are critical for a watertight and visually appealing Colorbond roof. Always ensure that overlapping edges are raised and face the direction of installation to prevent water ingress. Start installing sheets from the highest point of the roof and work downwards to maintain proper alignment. Use chalk lines to mark the roof surface for accurate placement of the sheets. Overlaps should be at least one and a half corrugations for side laps and 150mm for end laps to ensure durability. Inspect all overlaps during installation to confirm they are correctly positioned and aligned. Improper alignment can lead to gaps, water leakage, and structural issues over time. By adhering to these guidelines, you can achieve a seamless and professional-looking roof installation.
Post-Installation Checks
Post-installation checks ensure the roof’s integrity. Inspect for gaps, misalignments, and loose fasteners. Clean the roof surface thoroughly to maintain appearance and durability. Verify all components are securely fastened.
Inspecting the Roof for Gaps or Misalignments
Inspecting the roof for gaps or misalignments is crucial to ensure long-term performance. Start by examining the overlaps between Colorbond sheets, ensuring they meet the recommended specifications. Check for any visible gaps or uneven alignment, which can lead to water ingress or structural issues. Verify that all fasteners are securely tightened and properly spaced to avoid loose panels. Pay special attention to valleys, ridges, and flashing areas, as these are prone to leaks. Use a chalk line to mark any discrepancies for easy identification. Address any issues immediately by adjusting or replacing affected sections. Regular inspections can prevent minor problems from escalating into major repairs, ensuring the roof remains watertight and visually appealing. Proper inspection ensures the roof’s durability and maintains its aesthetic appeal for years to come.
Final Cleaning and Maintenance Tips
After installation, cleaning and maintaining your Colorbond roof is essential to preserve its appearance and durability. Use a mild detergent and a soft-bristle brush to remove dirt, grime, or mold. Avoid using abrasive materials or high-pressure washes, as they may damage the protective coating. Regularly inspect and clear debris from gutters and downpipes to ensure proper water flow. Trim tree branches near the roof to prevent leaves from accumulating. For minor scratches, touch-up paints can be used to maintain the finish. Schedule annual inspections to check for loose fasteners or damaged panels. Addressing issues promptly prevents costly repairs. Cleaning should be done on an overcast day to avoid streaks from soap residue. By following these maintenance tips, your Colorbond roof will remain in excellent condition, providing long-lasting protection and aesthetic appeal for your home.
No Responses